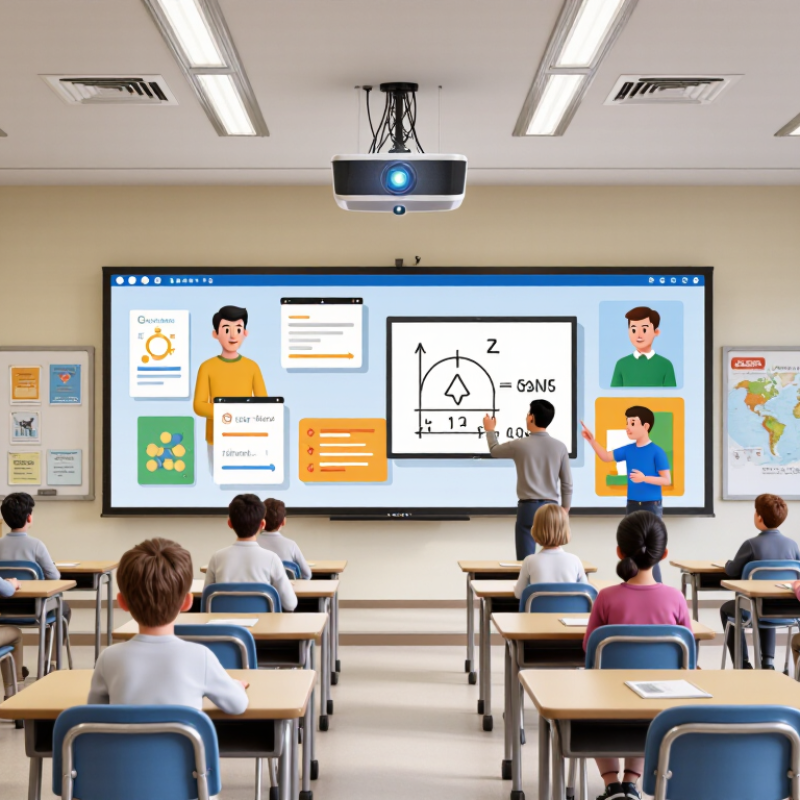
A classroom display should make a lesson easier to follow, not add another obstacle. Yet choosing a Classroom Smart Board Projector involves more than brightness or screen size. Teachers need readable text under fluorescent lights, reliable touch response, clear sound, and connections that work with the devices already in the room. Small details matter: a map at the back of class, a finger tracing a fraction, or a video paused without losing the lesson.
Infrastructure still varies widely. UNESCO’s 2023 Global Education Monitoring Report estimates that only about half of lower-secondary schools worldwide have internet access for teaching. That matters because interactive features can depend on stable connections, but a classroom also needs useful offline options. More features are not automatically better. Sometimes a simpler setup is easier to maintain.
This guide compares seven projector options for 2026, focusing on classroom usability, image quality, interactive tools, installation, and likely ownership costs. Product specifications can look impressive on paper. Real performance depends on room lighting, projection distance, screen surface, and how often teachers switch between activities. The right choice is the one that fits the room and the lesson—not merely the newest model. We also flag trade-offs, because no projector suits every classroom, and published specifications cannot replace a hands-on test.
Classroom smart board projectors are easier to compare when their imaging technology is separated from their interactive features. LCD models use liquid-crystal panels to form an image, often producing bright, vivid classroom visuals. DLP models use tiny mirrors and can offer compact designs with crisp motion. LCoS combines liquid-crystal control with a reflective surface, though it is less common in everyday classrooms. These labels describe image formation, not touch response or lesson software.
Light source is a separate category. A projector may use a lamp or laser, while still relying on LCD or DLP imaging. Keep those terms distinct when reviewing a shortlist. It matters.
ISO 21118 provides a framework for information presented in projector data sheets, helping readers compare stated specifications such as light output. It is not a classroom-performance certificate, and it does not confirm interactive-board compatibility. Check the listed brightness alongside room conditions: sunlight on a whiteboard can wash out an image, even when the specification looks strong. Also note resolution, throw distance, and image size; a unit mounted above a narrow board may leave text soft at the edges. Data sheets help, but they cannot fully predict a real lesson. That is an imperfect part of choosing. Test projected text from the back row when possible.
A classroom projector can look bright on a specification sheet and still struggle beside sunlit windows. Compare all seven candidates under the same conditions: room lighting, screen size, and image source. ANSI lumens offer a more useful brightness measure than vague “lumens” claims. For a room with daylight, prioritize stronger measured output, but remember that wall color and screen gain also affect the image. Brightness alone does not settle it.
Resolution determines how clearly small text and diagrams appear. Native 1080p usually keeps lesson slides sharper than a lower native resolution that merely accepts a higher input signal. Throw ratio helps predict placement: a 0.5:1 ratio needs about 50 inches of distance for a 100-inch-wide image. Check the manufacturer’s range, since lens adjustments can change the result. Measure the classroom before choosing.
Put the figures side by side. Small differences matter. A short-throw model may reduce shadows when students approach the board, while a brighter model may suit a deeper room. One imperfect detail in this comparison is that published brightness tests may not match real classroom lighting. Treat specifications as a starting point, then verify image size, focus, and readability from the back row.
| Projector | Brightness (ANSI lumens) |
Native Resolution | Throw Ratio | Projection Type | Classroom Use | Interactive Board Note |
|---|---|---|---|---|---|---|
| Projector 1 | 4,000 | 1280 × 800 (WXGA) | 1.55–1.70:1 | Standard throw | Bright, general-purpose lessons and presentations | Works with a separate interactive whiteboard or touch overlay. |
| Projector 2 | 3,800 | 1920 × 1080 (Full HD) | 1.49–1.64:1 | Standard throw | Detailed slides, video, and mixed classroom content | Interactive functions depend on the board or overlay system. |
| Projector 3 | 3,600 | 1280 × 800 (WXGA) | 1.55–1.70:1 | Standard throw | Everyday instruction in rooms where ambient light can be controlled | Requires a compatible interactive board or touch overlay for touch input. |
| Projector 4 | 4,000 | 1280 × 800 (WXGA) | 1.55–1.73:1 | Standard throw | Large text, diagrams, and presentations in medium-sized rooms | Use with a separate interactive whiteboard or touch overlay. |
| Projector 5 | 4,500 | 1920 × 1080 (Full HD) | 1.40–2.24:1 | Standard throw with optical zoom | Flexible installation distances and detailed multimedia lessons | Interactive capability is provided by the board or an external touch system. |
| Projector 6 | 4,000 | 1920 × 1080 (Full HD) | 1.13–1.47:1 | Standard throw | Full HD classroom content with a relatively flexible mounting distance | Pair with a compatible interactive whiteboard or touch overlay. |
| Projector 7 | 4,000 | 1280 × 800 (WXGA) | 0.50:1 | Short throw | Useful where a closer installation can reduce shadows and glare | Works with an interactive board; confirm the projected image fits its active area. |
Comparison note: Brightness, native resolution, and throw ratios are published specifications for representative projector models, presented without brand names. Throw ratio is the distance from the lens to the screen divided by the projected image width. Interactive touch functionality generally requires a compatible interactive board or separate touch system.
For 2026, classroom smart board projectors should be judged by how reliably teachers and students can interact with lessons. USB-HID support lets a compatible projector send touch input to a connected computer, much like a mouse. Check which ports and operating systems are supported; a USB cable alone does not guarantee plug-and-play operation. Ten-point touch can allow several students to write or move objects at once. Useful in group work. But the feature matters only if the software recognizes multiple inputs accurately.
Test the projector with the classroom’s actual laptop, apps, and screen before choosing it. Ask students to write near the edges, erase marks, and drag a small on-screen object. Watch for delayed response, missed touches, or accidental input from a resting palm. These details are easy to miss in a bright showroom. Calibration and setup can also take longer than expected, especially after moving the projector. That is not always a hardware flaw, but it can disrupt a lesson. Compare support documentation and test results, not just the touch-point count. A clear demonstration may reveal more than a polished specification sheet.
A classroom smart-board projector should match the screen’s shape to the lessons shown on it. A 16:9 image suits widescreen video and many current presentations. A 16:10 image adds useful vertical space for diagrams, documents, and handwriting. On a 100-inch screen, 16:10 provides about four inches more image height than 16:9. That extra room can keep a toolbar from covering a worked example.
Check the actual source resolution, not just the projector’s advertised maximum. ITU-R Recommendation BT.2020-2 defines UHD-1 as 3,840 × 2,160 pixels: about 8.3 million pixels, four times 1080p. More detail helps when students inspect small labels or dense charts. But 4K alone does not guarantee legibility. Screen size, seating distance, focus, and daylight still matter. Bright windows can wash out fine lines.
Match the projector’s native format to the board and the devices teachers use. Otherwise, scaling may soften text or leave unused bars around the image. Test a real lesson file from the back row. Look closely at small writing. This check is easy to skip, and I would not rely on a specification sheet alone. A slightly imperfect match may still work, but it deserves a classroom trial before purchase.
A classroom projector’s price tag tells only part of its cost.
Compare the light source’s rated life with the hours your school expects to use it each week. Lamp-based models may need replacement lamps; solid-state light sources often last longer, but their rated hours are not a guarantee. Brightness settings, ventilation, and dust can affect performance. Check replacement-part prices and warranty terms before comparing models. Small details matter.
Connectivity can add costs that are easy to miss. Check whether the projector works with the classroom’s existing interactive board, teacher laptop, and document camera. A missing port may mean buying adapters or replacing cables.
Wireless casting can reduce cable clutter, but test it with the school’s actual devices and network. A smooth demo is not proof of dependable daily use. Test it during a busy lesson.
Build a simple ownership estimate across several years: purchase price, likely light-source replacements, filters, adapters, and service. Include the cost of a lesson disrupted by troubleshooting; it is real, though harder to measure. Ask staff to test common tasks, such as annotating a worksheet and switching between a laptop and a camera.
One caveat: usage forecasts are often optimistic. A projector used all day may reach service intervals sooner than a lightly used one.
Confirm the projector supports the laptop’s operating system and required ports. A USB cable alone may not make touch work. Test it.
It can let several students write or move objects at once. Try shared tasks with the actual classroom software. More touch points do not guarantee accurate input.
Ask students to write near screen edges, erase marks, and drag a small object. Watch for missed touches, delays, and palm input. Small errors matter.
The classroom laptop, apps, and screen may behave differently from showroom equipment. Test them together. A polished demo proves little.
Yes. Moving the projector may require setup or recalibration, which can take longer than expected. That is frustrating, even when no part is faulty.
Include the purchase price, replacement lamps or other light-source parts, filters, adapters, and service. Estimate use by weekly hours. Forecasts can be too optimistic.
Check compatibility with the existing interactive board, laptop, and document camera. A missing port may mean extra adapters or cables. Test wireless casting on the school network.
Have staff annotate a worksheet and switch between a laptop and camera during a busy lesson. Include troubleshooting time in the estimate. I may be overcautious, but one smooth test is not enough.
Choosing the right Classroom Smart Board Projector for 2026 starts with understanding projection technology and how ISO 21118 provides a consistent basis for comparing light output specifications. This guide evaluates seven models across ANSI lumens, resolution, and throw ratio, helping readers consider image visibility, clarity, and installation distance for different classroom sizes. It also explains how interactive capabilities, such as USB-HID input and 10-point touch, can support hands-on lessons and group participation.
Screen format and long-term value matter, too. The comparison covers 16:9 and 16:10 layouts, as well as 4K UHD resolution at 3,840 × 2,160, so educators can match projected images to their teaching materials. Finally, it considers ownership costs beyond the initial purchase, including light-source life and connectivity options, to help schools weigh maintenance needs and everyday usability when selecting a projector.

Youxi projector