Choosing the best Black Projector Screen Paint in China for a home theater takes more than comparing prices or choosing the darkest tin. A screen that looks dramatic in a product photo may show weak detail when a projector fills it with a bright scene. Room lighting, projector brightness, wall texture, and viewing distance all affect the result. Small details matter.
For a useful comparison, check whether manufacturers publish application instructions, coverage estimates, and measurable screen-performance data. Then test a sample on a smooth, primed surface before coating an entire wall. Watch familiar scenes in both a bright room and a dark one. Look closely at shadow detail, skin tones, and whether subtitles remain easy to read. A darker finish may help reduce reflected light, but it cannot compensate for poor projector placement or an uneven wall.
China offers a wide range of screen-paint products, yet specifications and testing methods can vary. Treat broad claims about contrast or brightness as claims to verify, not guarantees. Ask for a technical data sheet, confirm the recommended number of coats, and compare the total cost with a dedicated screen. One limitation is hard to avoid: a small sample cannot perfectly predict a full-size image. Still, careful testing gives buyers a more reliable starting point—and may prevent an expensive repaint.
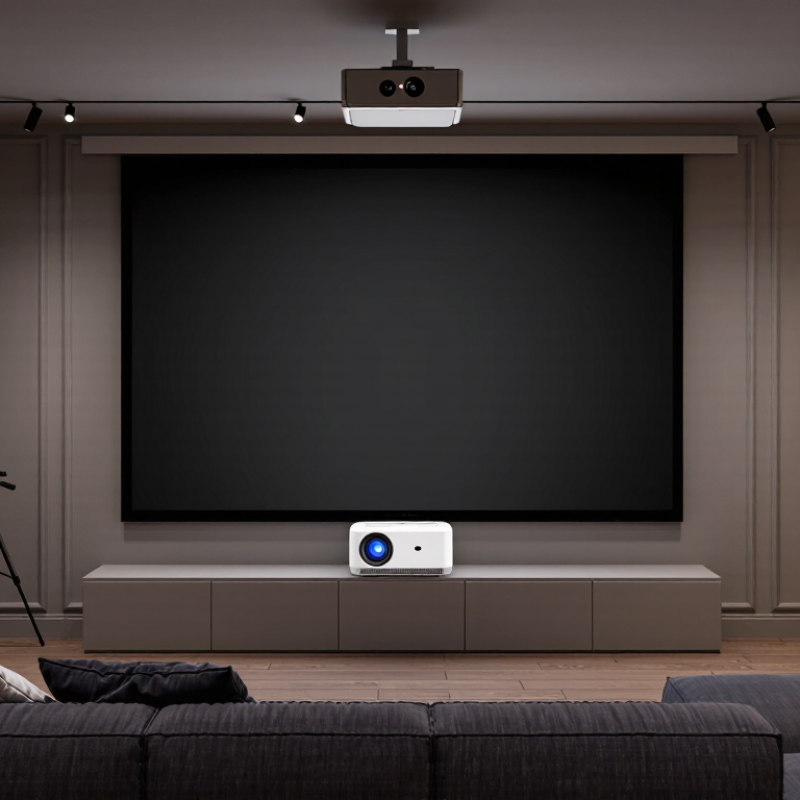
Black projector screen paint is a dark coating applied to a smooth wall or screen surface. It is designed to create a projection area without installing a separate fabric screen. Its basic function is simple: the surface reflects some projector light toward viewers and absorbs the rest. That matters.
Ordinary black paint usually absorbs more light than a conventional white screen. This can make dark scenes look deeper in a room with little stray light, but it also reduces image brightness. Black paint does not automatically separate projector light from light coming through windows; both can be absorbed. Not magic.
Screen coatings may use carefully chosen pigments and finishes to balance reflectance, color, and surface texture. Results still depend on the projector, viewing distance, wall condition, and room lighting. A tiny bump or roller mark can show up in a bright scene. Before coating a full wall, test a small patch and compare familiar images at your normal viewing distance. I would not judge it from a vivid demo alone; skin tones and shadow detail can reveal weaknesses that a bright test image hides.
Black surfaces reflect less ambient light, which can help preserve perceived image contrast in a lit room. This illustrative calculation uses the diffuse-reflection formula (luminance = illuminance × reflectance ÷ π), assuming 5% reflectance for matte black paint and 80% for matte white paint. Actual results vary by paint and surface; the chart does not account for projector light.
When evaluating black screen paint made in China, ask for measured performance, not just a dramatic sample photo. SMPTE RP 431-2 specifies 48 cd/m² as the reference white-screen luminance for digital cinema. It is a useful benchmark, not a home-theater requirement. A dark coating may improve perceived black levels, but it can also reduce image brightness.
Request test results for reflectance, gain, color neutrality, and batch consistency. AVIXA F501.01 provides a standardized method for measuring image-system contrast ratio. Ask whether the supplier tested a coated sample with that method, and request the report’s equipment, test distance, and ambient-light conditions.
Numbers matter. A glossy patch can look smooth under a phone flash, yet reveal uneven texture when a projector illuminates it.
For a practical check, apply the paint to a sample panel using the intended wall preparation and number of coats. Project grayscale steps, skin tones, and a white test field in a dim room. Compare the center and edges; look for color shifts, roller marks, and brightness loss.
I would be cautious about claims such as “deepest black” without independent measurements. Even a well-documented coating may behave differently on your wall. Test first.
For a home theater, decide whether the paint will cover the projection wall or the surrounding walls. A black projection surface can deepen dark scenes, but it also reflects less light. A dim projector may produce a dull, hard-to-see image. Light matters. So does brightness.
Check color neutrality and finish, not just the advertised shade. A slight tint can shift whites and skin tones. Glossy paint may create distracting hotspots, while a very rough wall can scatter detail. Look for a smooth, matte finish, and prepare the surface carefully; tiny bumps show up in bright scenes. Test first. Paint a sample area and project familiar footage onto it. Compare faces, subtitles, and shadow detail from your usual seat.
Room conditions change the choice. Dark curtains and controlled lighting can make a neutral gray surface more practical than black. In a room with stray light, darker surrounding walls may reduce reflections without sacrificing as much image brightness. Measure the wall, check the projector’s light output, and consider how far viewers sit from the image. I would not assume the darkest paint is automatically best; that shortcut sounds convincing, but it can leave an expensive-looking room with a weak picture. A small test patch is less exciting, and more useful.
| Selection Factor | What to Check | Practical Guidance |
|---|---|---|
| Room Light | How much light reaches the screen during viewing, including windows, lamps, and reflected light from walls. | A darker room generally allows a lighter screen surface to preserve image brightness. Darker paint can help reduce visible room reflections, but it cannot eliminate the effect of light falling directly on the screen. |
| Paint Color | Whether the proposed black or gray shade is neutral, and whether it changes the perceived color of the projected image. | Black absorbs more projected light than lighter gray and can make the image appear dimmer. Compare samples under the projector before painting the full screen; a neutral gray may offer a more practical balance for many home theaters. |
| Screen Gain and Brightness | The paint or screen system’s stated gain, if available, and the projector’s brightness at the intended image size. | Gain describes reflected light relative to a reference surface under specified measurement conditions. A lower-gain surface usually returns less light toward viewers, so check that the projector can produce a sufficiently bright image for the planned screen size. |
| Viewing Angle | Whether viewers sit in one central position or spread across a wide seating area. | Reflectance and perceived brightness can vary with viewing direction. Check the paint system’s viewing-angle information where available, and test a sample from the seats farthest from the center. |
| Wall Flatness | Surface waviness, dents, texture, seams, and other imperfections in the projection area. | Paint does not correct an uneven wall. Fill imperfections, sand the area smooth, and use a suitable primer. A flat, uniform surface helps prevent visible distortions and inconsistent image texture. |
| Finish and Uniformity | Whether the finished surface is smooth, evenly coated, and free from roller marks, lap lines, and glossy patches. | Uneven sheen can create distracting bright or dark areas. Follow the coating instructions for application and curing, and inspect the finished wall using a full-screen image before regular viewing. |
| Projector Type | The projector’s throw style, especially if it is an ultra-short-throw model positioned close to the wall. | Ultra-short-throw projection is particularly sensitive to surface flatness and alignment. A painted wall must be exceptionally smooth and flat; paint alone does not provide the optical structure of an ambient-light-rejecting screen. |
| Color Accuracy | Whether the paint has a neutral appearance and whether the projected whites, grays, and colors look balanced. | A tinted surface can shift image colors. Test projected grayscale and color patterns on a sample area, and adjust projector calibration only after the final surface has cured. |
| Durability and Maintenance | The coating’s cleaning guidance, cure time, and suitability for the wall material. | Follow the product instructions for preparation, application, curing, and cleaning. Avoid assuming that ordinary wall paint has the same optical properties or maintenance requirements as a screen-specific coating. |
| Sample Testing | The actual image appearance in the room, at the intended screen size and from normal seating positions. | Before coating the full area, test a representative sample with the projector and room lighting in their usual settings. Compare brightness, black levels, color, uniformity, and viewing angle rather than choosing by paint-chip appearance alone. |
China Best Black Projector Screen Paint for Home Theater?
How to Prepare and Apply Projector Screen Paint
A smooth, clean wall matters more than a quick coat of paint. Remove dust and grease, then fill dents and sand rough patches until the surface feels even. Check it with a lamp held close to the wall; small ridges show up clearly. Wipe away sanding dust and let the wall dry completely. It is tempting to skip this. Don’t. Uneven texture can scatter projected light and make bright scenes look patchy.
Mask the edges, protect the floor, and apply a compatible primer if the paint instructions call for one. Stir the screen coating gently, rather than shaking in air bubbles. Use a fine roller and spread thin, even coats, keeping a wet edge as you work. Let each coat dry for the stated time. A test area helps reveal whether the finish suits your projector and room lighting. Black surfaces absorb more light, so image brightness may drop; adjust the projector or room lighting before committing to the whole wall. I would not judge the result while the paint is still curing. Wait, project a familiar scene, and inspect it from your usual seat.
Black projector paint can deepen perceived blacks, but the room decides how much. A window beside the screen may wash out dark scenes, while a pale ceiling can bounce light back onto the image. Even a dim lamp near the seating area matters. Small details show up quickly.
The SMPTE digital-cinema reference standard, ST 431-1, specifies 48 cd/m² screen luminance. This is a cinema reference, not a home-theater target, but it illustrates the balance: a darker coating may absorb stray light while also lowering image brightness. Check projector output and screen size before painting. A sample patch helps. I once underestimated how much a textured wall changed the result; the finish was less uniform than expected.
AVIXA’s ANSI/INFOCOMM 3M-2011 standard assesses image-system contrast in the viewing environment, rather than judging a screen surface alone. That distinction matters. Measure with the room lights in their usual positions, and test a bright scene beside a dark one. Black paint cannot fix weak projector output or uncontrolled reflections. Nor is every “black” coating equally matte. A slight sheen can create a distracting hotspot. My first impression may still be wrong; viewing angle and seating position can change what looks like good contrast.
Black can deepen dark scenes by absorbing stray light. It also reduces reflected image brightness. Test a small patch before painting the whole wall.
No. A dim projector may produce a dull image on a very dark surface. The darkest option can sound convincing, but it may disappoint.
Choose a smooth, matte finish to limit distracting hotspots. Gloss can reflect light unevenly, while rough texture can soften details. Check from your usual seat.
Remove dust and grease, fill dents, then sand rough patches. Hold a lamp close to find ridges. Wipe away dust and let the wall dry.
Yes. Paint a sample area and project familiar footage. Compare faces, subtitles, bright scenes, and shadow detail. Test first.
A nearby window can wash out dark scenes. Pale ceilings may bounce light onto the screen, and even a dim lamp can matter.
Not by itself. Projector brightness, screen size, reflections, and seating angle all affect the result. My first impression may be wrong; check from several seats.
Mask the edges and protect the floor. Use a fine roller and thin, even coats, keeping a wet edge. Let each coat dry fully.
Black Projector Screen Paint is a coating designed to create a projection surface with a darker appearance than a traditional white screen. Its performance depends on how it balances light reflection, contrast, and color accuracy. When evaluating paint made in China, consider the product’s intended use, finish, coverage, application guidance, and consistency rather than relying on color alone. For a home theater, match the paint’s characteristics to your projector’s brightness, desired image size, viewing distance, and room conditions.
Good preparation is essential: create a smooth, clean, evenly primed surface, then apply the paint in thin, uniform coats and allow it to dry as directed. Ambient light, wall color, projector placement, and light control can all affect the final image. A darker screen may help manage a bright room, but it cannot replace suitable projector settings or thoughtful room setup. Test the surface under your usual viewing conditions to judge contrast, brightness, and overall image quality before settling on a final application.

Youxi projector